Moroni’s Quest 2026
President Nelson said, “Few things build faith more than does regular immersion in the Book of Mormon. No other book testifies of Jesus Christ with such power and clarity. Its prophets as inspired by the Lord, saw our day, and selected the doctrine and truths that would help us most. The Book of Mormon is our latter-day survival guide.”
REGISTRATION DEADLINE IS MARCH 31st 2026
Why Quest?
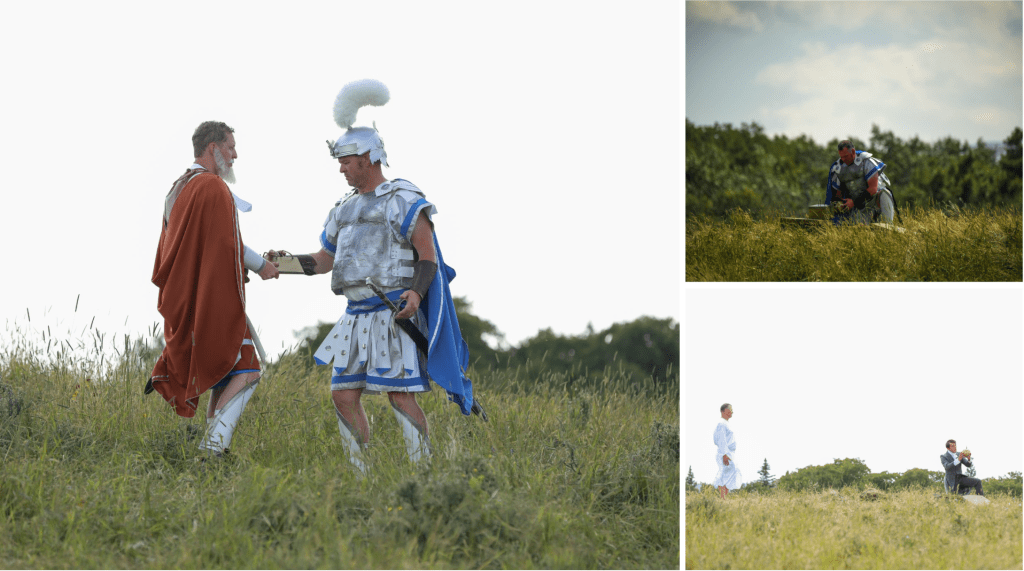
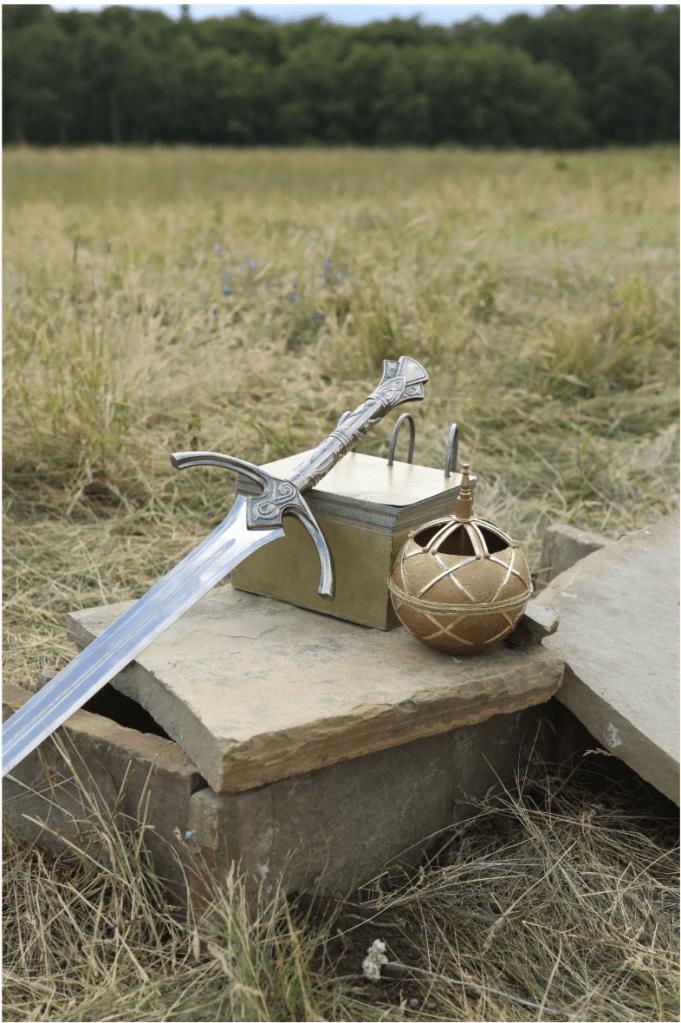
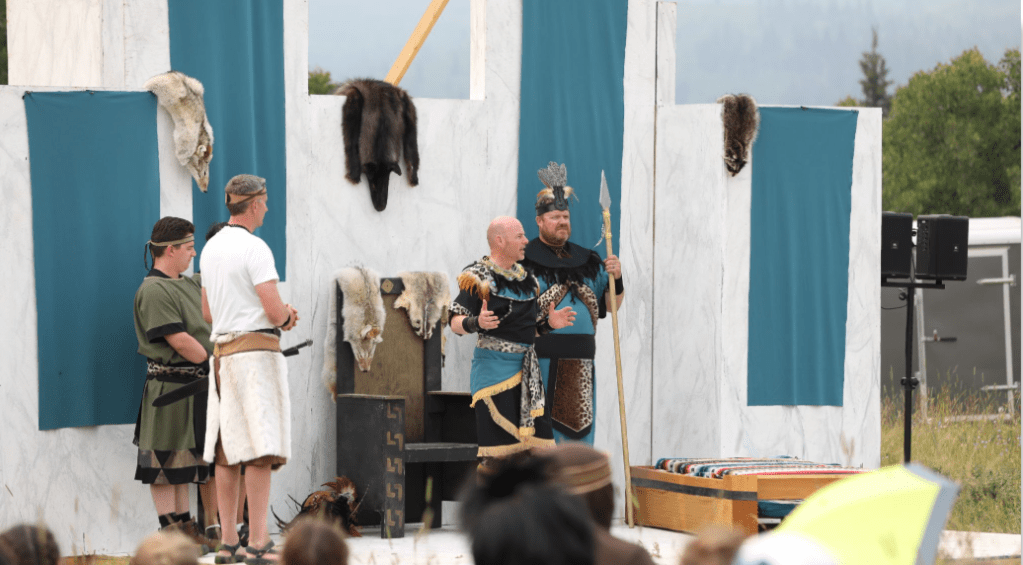
Quest is an exciting way to bring the Book of Mormon to life for our youth. The stories of the Book of Mormon will be taught through a variety of re-enactments, activities, and tribe discussions. They may have questions about the Book of Mormon that won’t be answered during a re-enactment or group activity. Your preparation and personal study of the Book of Mormon throughout the next year will help prepare you to answer their questions.
The main goal of Quest will be to strengthen everyone’s faith in and relationship with the Savior, as we all liken the scriptures unto ourselves, that they may be for our profit and learning. We want our kids to know to what source they must look for truth in an ever more confusing world. We want them to learn how the spirit speaks to them.
We will create an atmosphere throughout Quest, where the spirit may be felt. This will be accomplished as we include each of our tribe members, show kindness one to another, have fun together, and testify to one another about the truths that we have learned through our own experiences.
Items to remember
REGISTRATION DEADLINE IS MARCH 31st 2026
Tunic making: March 14th 9-12pm Virlow Stake Building
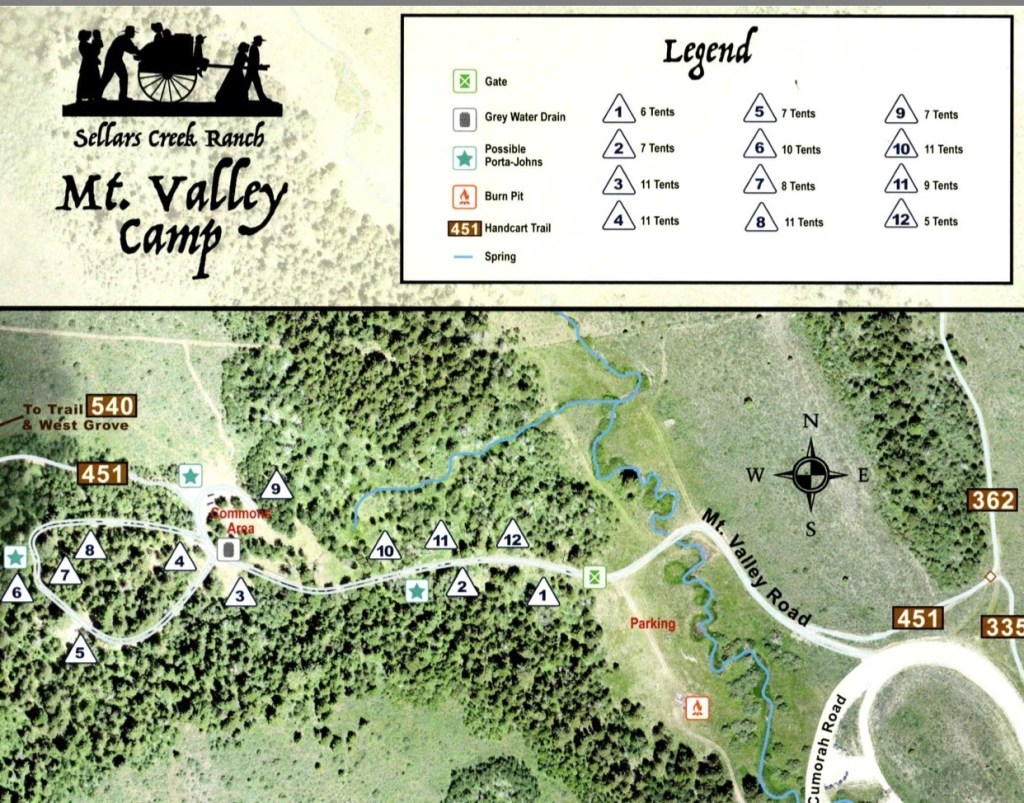
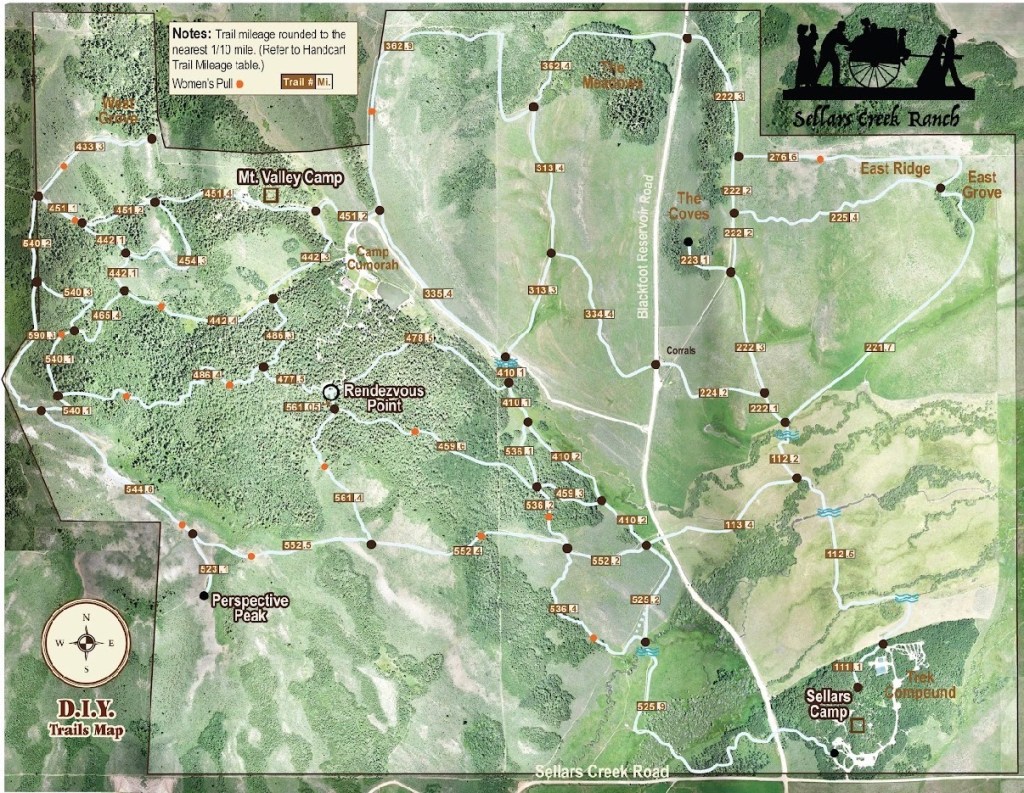
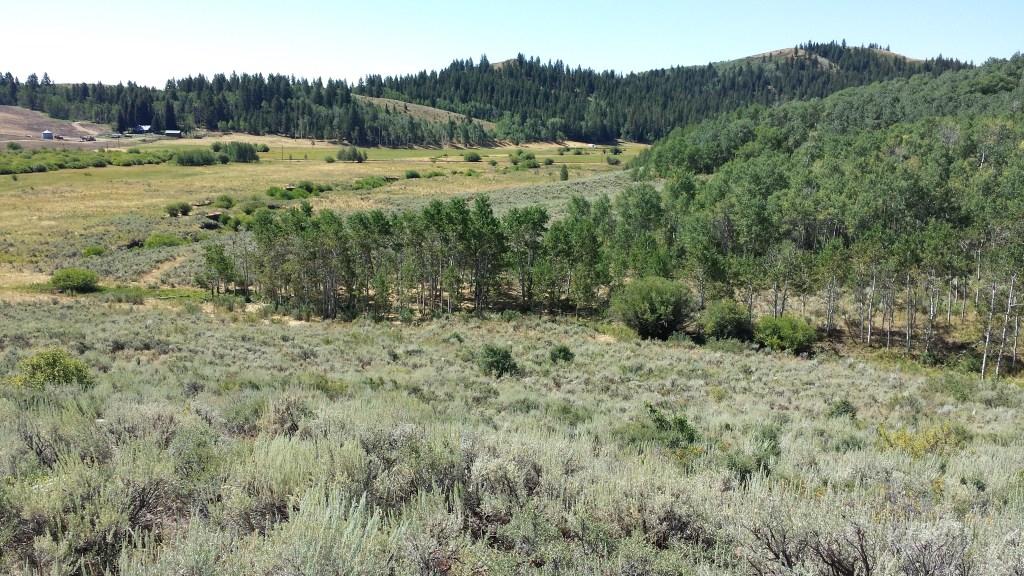
Location: Sellers Creek in Bone, Idaho (see map below)
Dates: July 20th -22nd
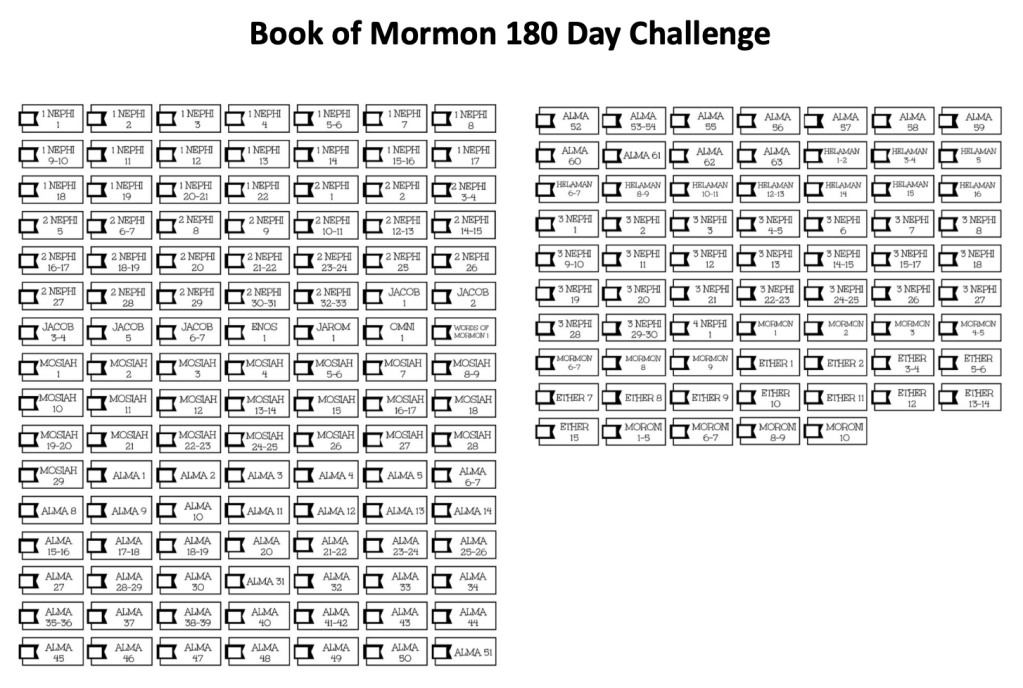
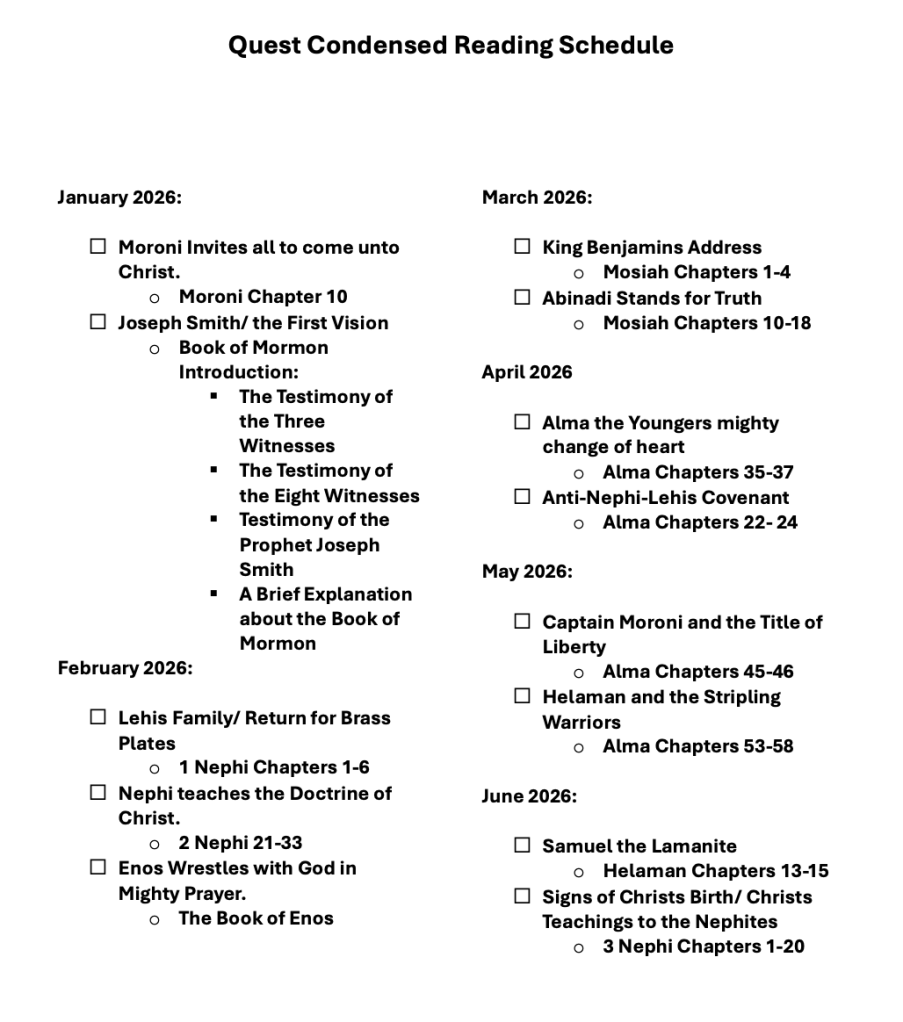
Reading assignments: 180 day challenge and shortened challenge, please complete one before Quest
Packing list: TBD
The youth will be learning this song to sing at Quest and practice will take place at church during regular class times.
Location: Mt. Valley Camp in Bone Idaho
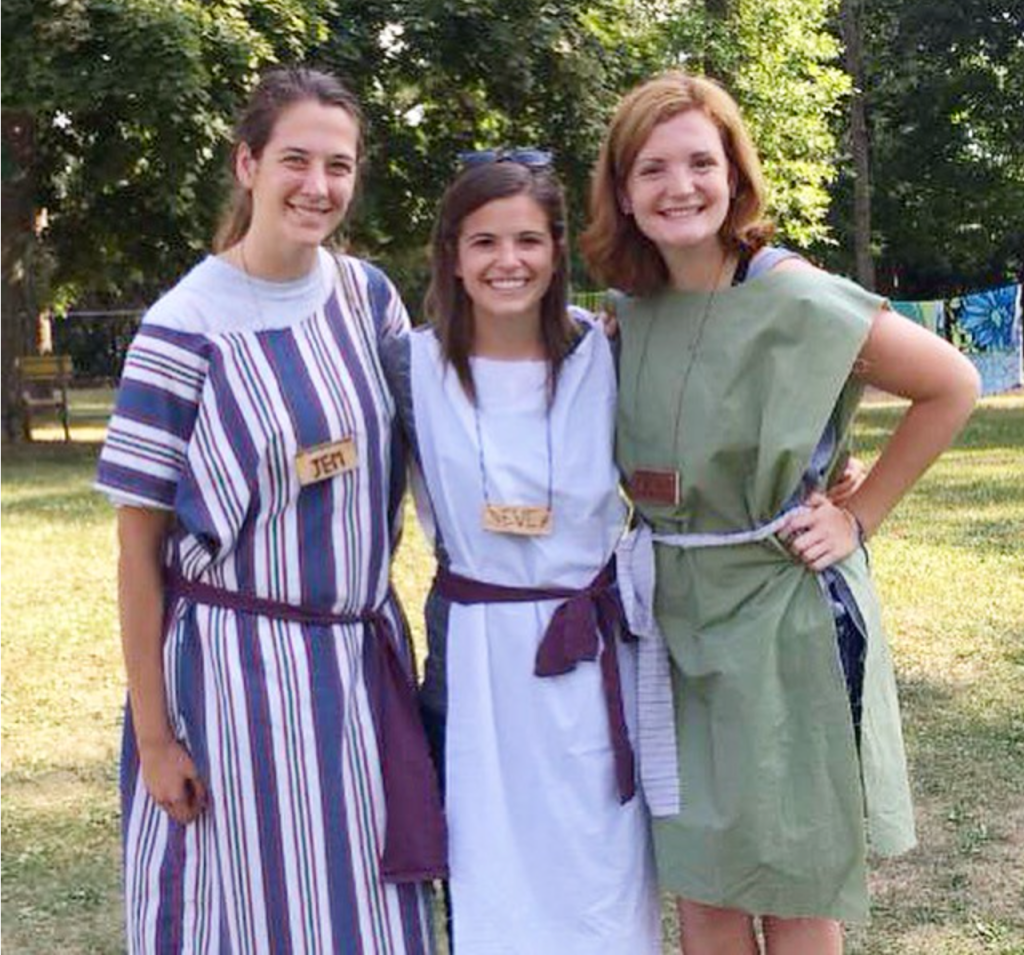
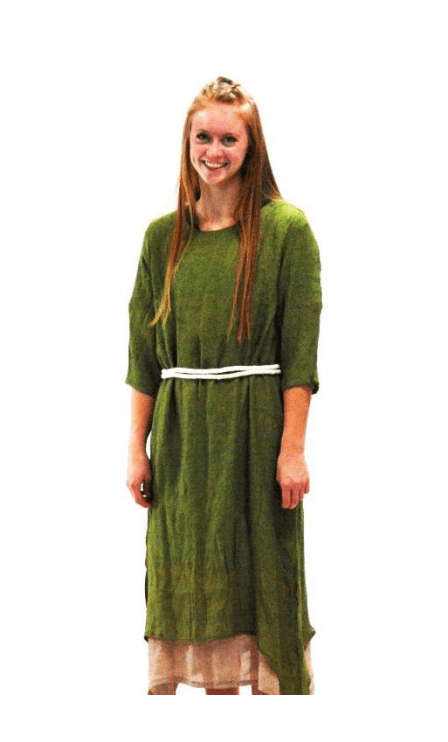
Tunic Instructions
All participants – youth, tribe leaders, camp directors, bishops, and any others who visit the camp – should dress
in Book of Mormon-type clothing at all times. Clothing should be simple and inexpensive. Be resourceful. Where possible, use or re-use items you
already have!
See examples and instructions below.

Fabric suggestions: 45 inch wide cotton or cotton-blend fabric or twin-size
flat sheet. Two average-size tunics can be made from one twin-size flat
sheet. Use solid or striped earth tones; avoid bright, flowery, or largepatterned fabric.
- Prepare fabric :
- Wash and dry fabric and iron if necessary
- You will need 2 yards for an adult and one and a half yards for a smaller teen
- Measure and cut fabric:
- For length, measure yourself from the top of shoulder to mid-knee and add 2 inches.
– For width, measure your chest or hip — whichever is largest. Divide measurement in half and add 6-7 inches. It doesn’t hurt to have a few more inches; the looseness can be fixed with a belt or sash.
– Fold fabric in half lengthwise (fold will go across top of shoulders).
– While cutting through both layers of fabric, cut the desired length (first measurement) and then desired width
(second measurement).
– For neck opening, measure around the
largest part of your head
– Cut an opening along the shoulder fold equal to the length of
your head measurement, using one of the variations below. Be
sure that the cut is centered in the fold, an equal distance
from each edge of the fabric. (Be careful when cutting the
neck opening; it gets big quickly!)
- For length, measure yourself from the top of shoulder to mid-knee and add 2 inches.
- Neck variations:
-Cut a gentle scoop along fold line—both sides
or just in the front.
– Cut along the fold, and then cut a “V” or a
square on the front only.
– Cut along the fold, and then cut a 4-6″ slit
down the center of the front.
- Sew fabric
– Finish the neck edge with bias tape (learn how at www.ca ilamade.com/tutoriaI-and-tipssewing-with-bias-tape/) or with a rolled hem (learn how at
www.craftsv.com/blog/2013/05/how-to-sew-a-rolled-hem/).
– To finish the side seam, measure down 11-13 inches from the shoulder fold (11 inches for
smaller sizes and 13 inches for larger sizes). This will be the arm opening. Pin the right sides of
the fabric together (in other words, outside or colored sides). Sew the side seam from the under
arm to the hem using a % inch seam. (*Option- stop 4-6 inches before the bottom of the hem on
each side for side slits.) Turn tunic right side out.
o Finish the arm opening using the same method as the neck opening. - Hem the tunic using one of the following methods:
- Fringe the bottom by cutting slits in hem 1 or 2 inches apart. (You may want to sew a straight stitch just above the slits to prevent further fraying.) You can also add a rolled hem with a zig zag stitch pattern for a contrast effect.
Reading Challenges